Manage contacts and groups
Contacts save you retyping names and email addresses every time you send a document. Open Contacts in the menu:
Your contacts and the groups you organize them into to send documents.
Contacts and groups are yours: each person in the organisation has their own list, and colleagues do not see it.
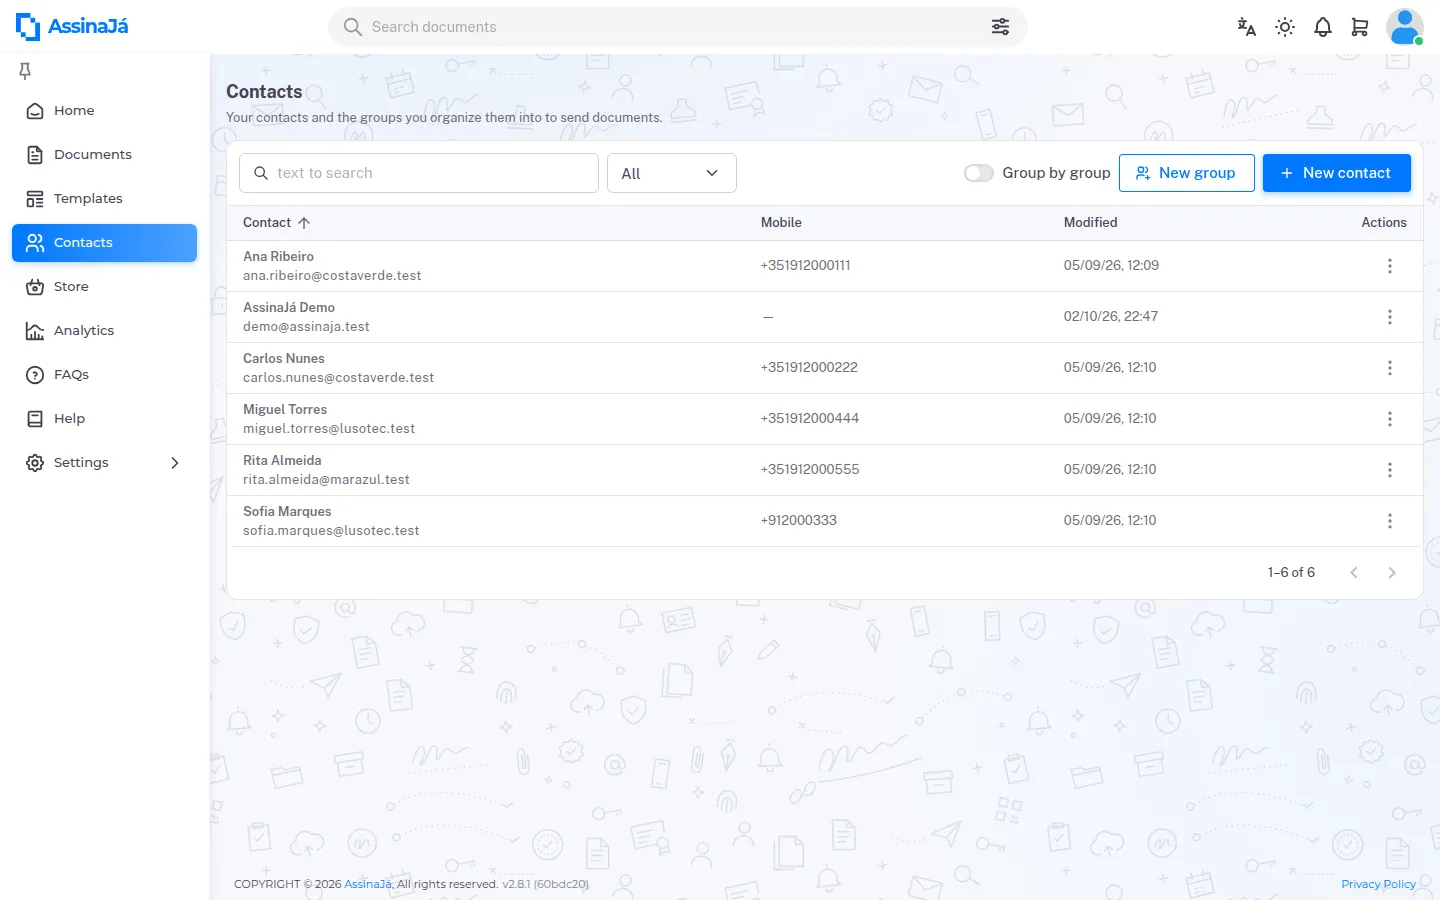
The contact list
Section titled “The contact list”It is a single list. Above it you have, from left to right:
| Element | What it does |
|---|---|
| Search box (text to search) | Searches as you type |
| Search field | All, Name, Email or Mobile phone — plus Group in the grouped view |
| Group by group | Switches between the plain list and the grouped view |
| New group | Creates a group — see below |
| New contact | Creates a contact |
The plain list has the columns Contact (name and email), Mobile, Modified and Actions. Click the Contact or Modified heading to sort by it. The search runs on its own once you stop typing, and the matching text is highlighted.
On a phone, each contact is a card, with the mobile number under the email and the ⋮ menu beside it.
Add and change a contact
Section titled “Add and change a contact”Choose New contact. Add contact opens, with Name, Email and Mobile phone. You get Contact created with success when it saves.
Two things are rejected:
- Invalid email — the address is not a valid one
- “You already added a contact with the same email” — you already have a contact with that address
Each contact’s ⋮ menu has:
| Action | |
|---|---|
| Edit contact | Opens Update contact; confirms with Contact updated with success |
| Remove from group | Only inside an open group — see below |
| Delete contact | Asks for confirmation first |
Before deleting, the screen warns:
The contact “name” is deleted and leaves every group.
Choose Confirm to go ahead.
Organise contacts into groups
Section titled “Organise contacts into groups”Create a group
Section titled “Create a group”New group opens Create group, with Name and Description. Saving gives you Group created with success and takes you straight to the group’s page, where you add the contacts.
Group names must be unique: “You already added a group with the same name”.
See contacts by group
Section titled “See contacts by group”Turn on Group by group. Each row becomes a group, with its name and, in brackets, how many contacts it holds — for example, Clients (12). Click the row, or the > arrow, to open the group in place and see its contacts; click again to close it.
At the end of the list comes No group — contacts outside any group.
An open group shows up to 100 contacts; in a bigger group, Show more adds the next ones.
In the grouped view, the search works two ways:
- With the Group field, it looks for groups by name. An open group shows all its contacts.
- With All, Name, Email or Mobile phone, it looks for contacts inside each group you open, and says how many match — for example, “3 of 12 contacts in this group match the search”.
The view is kept in the page address: a link or a reload opens it the way you left it.
A group’s menu
Section titled “A group’s menu”| Action | |
|---|---|
| Add contacts | Opens Add contacts to group — see below |
| Edit group | Change the name or the description |
| Open group page | The group’s own page, with the full list of its contacts |
| Delete group | Asks for confirmation first |
Deleting a group does not delete its contacts:
The group “name” is deleted. Its contacts stay in the list.
No group has no menu — it is not a group, it is what is left outside.
Put contacts in a group and take them out
Section titled “Put contacts in a group and take them out”Add contacts to group lists your contacts to choose from. Tick the ones you want and choose Save; you get “Contact added to group with success”. Saving with none ticked is refused with “Please choose one contact”.
To take someone out, open the group and choose Remove from group in the contact’s menu:
“name” no longer belongs to the group “group”. The contact stays in the list.
After Confirm, you get “Contact removed from group with success”.
The group’s page
Section titled “The group’s page”Open group page leads to Edit group, with two tabs: one for the group’s details (name and description) and one for its contacts. In the latter, Add opens the same Add contacts to group.
Search inside a group and when choosing contacts
Section titled “Search inside a group and when choosing contacts”The contact list on the group’s page and the Add contacts to group window have the same search as the main list — the text and the field (All, Name, Email or Mobile phone) — with one difference: here the search only runs when you choose Filter or press Enter.
Contacts when sending a document
Section titled “Contacts when sending a document”When sending, contacts show up two ways: as you type a name or an email in a person’s row, the platform suggests your contacts; and Contact list opens a window where you pick one or several. That window lists contacts one by one — groups do not appear there. See Send a document for signature.